Amiens
The Battle of Amiens, also known as the Third Battle of Picardy, was the opening phase of the Allied offensive which began on 8th August 1918, later known as the Hundred Days Offensive, that ultimately led to the end of the First World War.
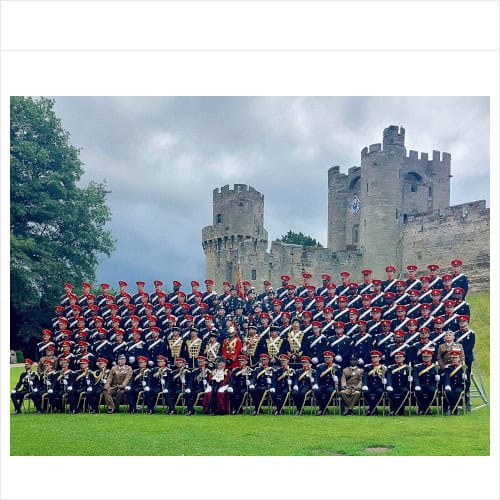
The Honour is borne on the Guidon of the 4th Hussars.
Detail
This great assault on the German lines was the turning point of the war and was the beginning of the Allies steady advance that led to the Germans suing for peace.
The bombardment started at about 4.30 am on the 8th of August, and it was found that the whole operation was a complete surprise. The regiment rested for two hours at Glisy and received numerous messages of the success of the advance. At about 7 am a move was made via the cavalry track past Cachy to Caix, where they arrived at about 4 pm. After a halt at Caix, the regiment was ordered to bivouac for the night in Caix Valley Wood.
The 9th of August was a very unfortunate day for the regiment, as many casualties in both men and horses were incurred without a shot being fired. At 4 am, when it was still dark, ‘B’ Squadron, under Captain Radclyffe, M.C., and ‘C’ Squadron, under Captain Beaman, D.S.O., was sent out to get into touch with the Canadian front line and be prepared to make use of any opportunities of mounted work that might turn up. Headquarters and ‘A’ Squadron, under Captain Evans, M.C., moved up to the east end of Caix village.
The infantry advance was timed to commence at 10.30 am, but, owing to unforeseen causes, did not actually begin till 1 pm. The brigade formation was: – the 5th Lancers on the right, the 4th Hussars on the left, and the 16th Lancers in support. On the left of the 4th Hussars was the 2nd Brigade, with the 9th Lancers next to the 4th Hussars.
During the delay before the attack, excellent information was sent back from patrols sent out from ‘B’ and ‘C’ Squadrons, the patrol leaders being Lieutenant France of ‘B’ Squadron and Lieutenant Delius of ‘C’ Squadron. They located positions of hostile machine guns, positions of our infantry posts, and gaps in the wire. It must be remembered that the Canadian infantry had reached the “old Amiens defence line” on the previous evening.
The attack started at 1 pm the German infantry could be seen running out from a valley as they made for Warvillers Wood, the first objective for ‘B’ Squadron, which was the advanced guard squadron; ‘C’ Squadron being brought into support with ‘A’ Squadron. All squadrons were told that no advance would be made until the infantry had reached and gained the line Vrely-Warvillers Wood-Warvillers. ‘B’ Squadron advanced into this valley, meanwhile, Headquarters with ‘A’ and ‘C’ Squadrons moved up towards a gap in the wire.
Unfortunately, the advanced squadron of the 9th Lancers went beyond the valley up to Vrely, which was still strongly held by the enemy. They suffered heavy casualties. This had the natural effect of drawing heavy fire into the valley, which caused heavy losses to the regiment. Up to this time, there had been but little shelling.
The C.O., having got the remainder of the regiment up to the gap in the wire, went on to the advanced squadron. About this time the 9th Lancers squadron came into the valley. Shells were soon coming in thick, and Captain Radclyffe, among others, was hit. At this moment Sergeant Higgs, the signalling sergeant, rode up to the advanced squadron and reported that all the officers with Headquarters had been knocked out by a single shell, which had landed in the trench in which they were all sitting. Another shell had landed on the 2nd Brigade Headquarters, killing the signalling officer and wounding the Brigade-Major.
When the regiment eventually reached Warvillers Wood, it was found that there was an admirably placed observation post high up in the trees, from which the Artillery Observation Officer could see practically all down the valley. As we were very congested at the time, ‘C’ Squadron was ordered farther down the valley. About an hour it was reported that Vrely was taken, and that infantry had entered Warvillers Wood. ‘B’ Squadron then pushed on to Warvillers Wood. The rest of the regiment then moved up to Warvillers Wood
‘B’ Squadron pushed through the wood, dismounted, and on arriving on the east side found the Canadian infantry just beyond them. Rouvroy was the next village in the line of advance, but it was necessary to wait until tanks and infantry got a footing. ‘B’ Squadron then mounted and advanced over very open ground to Rouvroy. They could get no farther, so remained in support to the infantry, and supplied them with ammunition.
Soon afterwards the rest of the regiment proceeded towards Rouvroy, but before getting there came under long-range machine-gun fire which caused some casualties. The order was then given to return to the west side of Warvillers Wood. It then transpired that very little progress had been made on our left, and the 2nd Brigade was not up in the same alignment as Rouvroy. The rest of the brigade also withdrew to the west of Warvillers.
It was now getting late, and orders were issued that the regiment would bivouac for the night where it was, and would be in support to the Canadians. The led horses were accordingly handed over to the No. 3’s, and the remainder of the men went to their allotted positions. During the night a hostile aeroplane came over and dropped a bomb right on to Headquarters and the head of ‘A’ Squadron.
The result was that Private Flintham, Signaller Greenway, Private Dawson, and Corporal Cheshire were killed, and twelve others were wounded, of whom Private Tun afterwards died of wounds. Also, twenty-one horses were killed, and a lot of others broke loose.
The rest of the night was very quiet. On the morning of the 10th, around 7 am a squadron of the Royal Dragoons came up to take over from ‘B’ Squadron at Rouvroy.
After collecting some forage and rations, the regiment withdrew to Caix Valley, expecting to be there for at least a day. At 1 pm, however, the order came to saddle up and move again towards Warvillers.
The regiment hung about in this area until dusk and was then ordered to bivouac near in the open. During the night bombs were again dropped, leaving twenty-two horses being killed, and eleven more to be evacuated the next day. There were no casualties among the men.
During the 11th of August, the regiment remained where it was. Finally at 4.15 pm orders came to withdraw to Caix Valley West, and everybody got settled in just before dark.