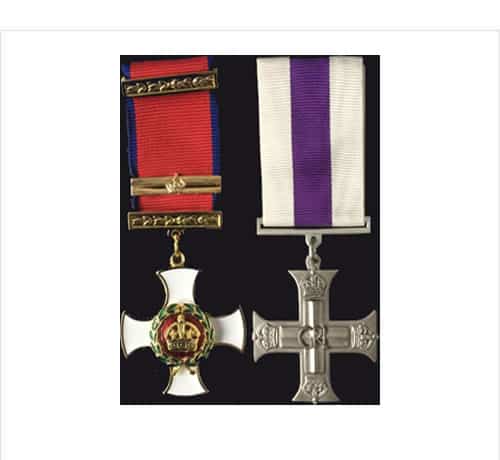
At ARNHEM from the 18 Sep until he was wounded this officer was continuously in close action with the enemy.
On 19 Sep his Bde which was engaged North of Arnhem railway met considerable enemy opposition. Despite innumerable difficulties he disengaged his Bde and moved South of the railway to rejoin the remainder of the Division.
During this disengagement and whilst moving through the woods to the West of Arnhem his Bde became very heavily involved with strong enemy parties of inf and tanks and a general melee ensued.
Brigadier Hackett by his personal example and leadership managed to extract a number of the Bde and in spite of intense enemy fire brought them to within the Div Perimeter.
On 21 Sep he took command of a sector of the perimeter which was made of many different unit. Brigadier Hackett was tireless and quite oblivious to enemy fire when visiting his posts. Although almost continually assailed, the excellence of his arrangements was such that his sector of the perimeter was maintained. Until he was severely wounded on the 24 Sep Brigadier Hackett showed inspiring leadership.
He was evacuated to hospital which was then in German hands. When he was about to be sent into Germany, Brigadier Hackett, although he was not fit to move, managed to leave the hospital and took refuge with Dutch civilians. He remained in hiding until he was sufficiently recovered from his wounds and until arrangements could be made for him to rejoin our own troops South of the River Rhine.
The determination shown by this officer in the fighting and during the subsequent period in hiding was outstanding.


